
Installation Instructions
(INSTALLATION INSTRUCTIONS CAN BE FOUND BELOW THE VIDEOS)
Below are two of my favorite installation videos from customers. They are very helpful for those looking to understand the process of installing these simple arches.
Supplies Needed for Installation
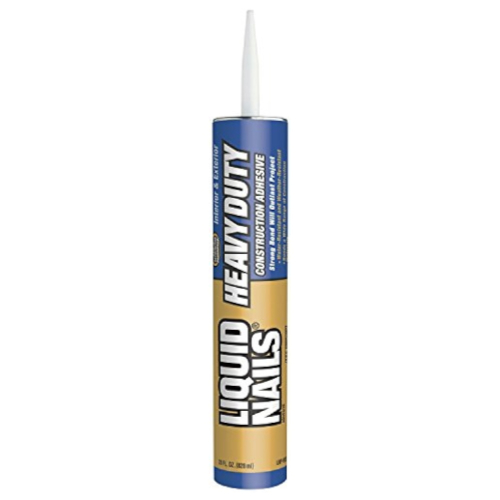
Construction Adhesive:
Look for a Heavy Duty type construction adhesive. This is used to secure the arches to your walls.
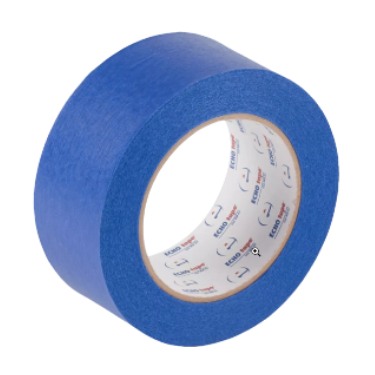
Painters Tape:
Any 1-2 inch blue painters tape will do just fine. This is used to hold the arches in place as the construction adhesive dries.
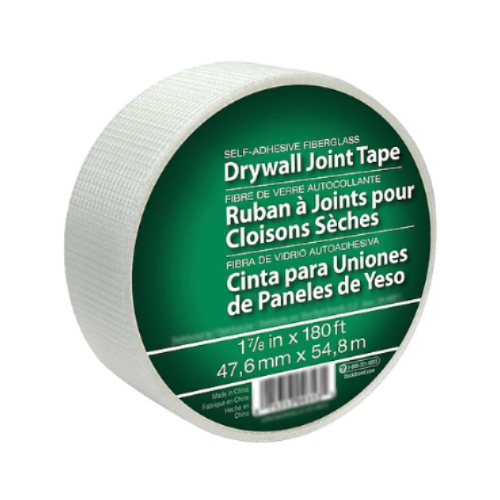
Drywall Joint Tape:
Any drywall joint tape will do. Fiber or paper versions will both work fine. This is used on all seams to make sure no cracks appear later.
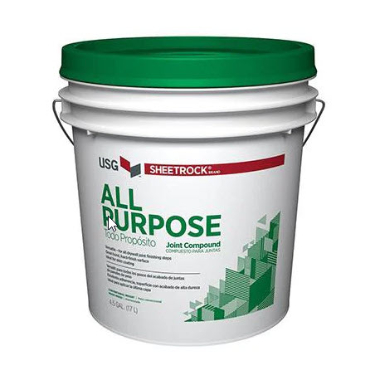
Joint Compound:
Look for anything called joint compound. This is used to cover the arches, to blend them into the walls. Do not use spackle.
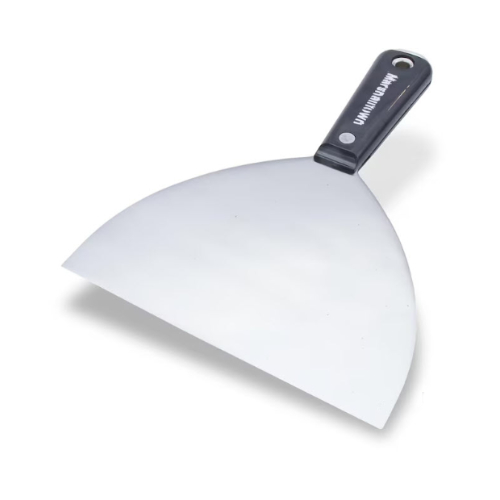
Putty Knife or Trowel:
If you already have one of these, then great. It’s just used to spread out the joint compound.
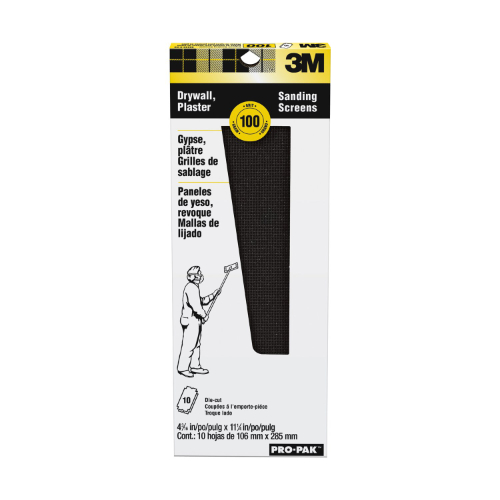
Drywall Sanding Screens:
100 or 120 grit for initial rough sanding, then progress to 180 or 220 grit if you need a super smooth surface,
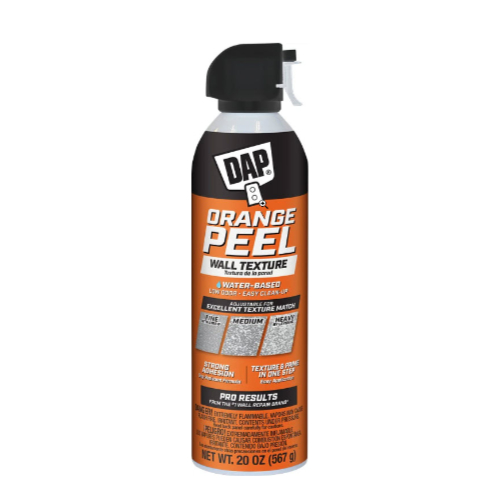
Wall Texture (optional):
If your walls have a texture, then something will be needed to recreate that over the arch constructions areas.
Paint:
You need the same color/finish paint from the area arches are being installed. If not, cut a sample of the wall out from the wall and bring it to your local hardware store to get matched.
All larger arch sets arrive with multiple pieces that just need to be put together.

Combine the pieces with super glue or construction adhesive. Once they are dry, you can move on to the steps below.
As you can see in the diagram here, the arches are printed to the actual size you ordered, however they will arrive a bit smaller. This is because a small portion of the very thin tips are not able to be printed. They are just too small for the manufacturing process. This is nothing to concerned about. The missing area is meant to be made up of the joint compound you apply during finishing.

Installation
Step 1:

Apply construction adhesive to the desired wall location using construction adhesive. Make sure the glue is applied throughout the area that the arches will be placed. Use a liberal amount to ensure complete adhesion.
Step 2:
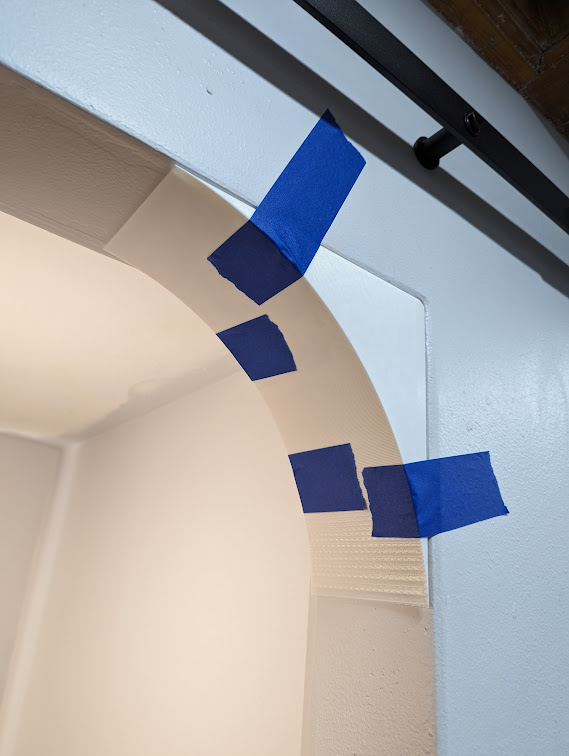
Use masking tape to secure the arches in place, aligning the arches to the middle of the walls.
Use multiple pieces of tape to ensure they remain in the middle of the wall and to avoid them from moving out of place while the glue dries.
Note: Don’t worry of there are small voids between the arch and wall, caused by walls that are not straight. This is normal and you only need to apply more construction adhesive in these spots. After the glue is dry, you can fill any void with additional joint compound during the finishing stages.
Step 3:
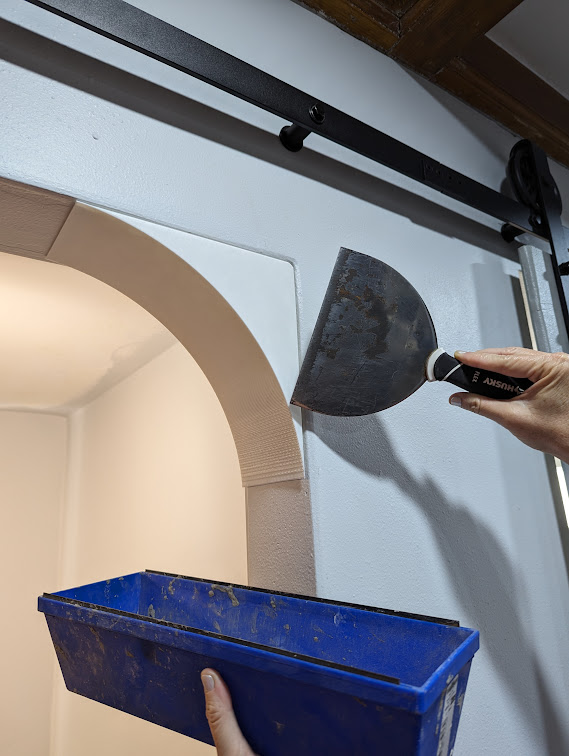
Once the construction adhesive is completely dry, remove the tape (usually overnight).
Cover both sides as well as the rounded portion of both arches with joint compound. Be sure to use drywall joint tape on all seams of the arch. You can apply a thin coat of joint compound and then put a piece of joint tape over each seam. The tape should overlap everywhere the arches meets the walls.
Step 4:
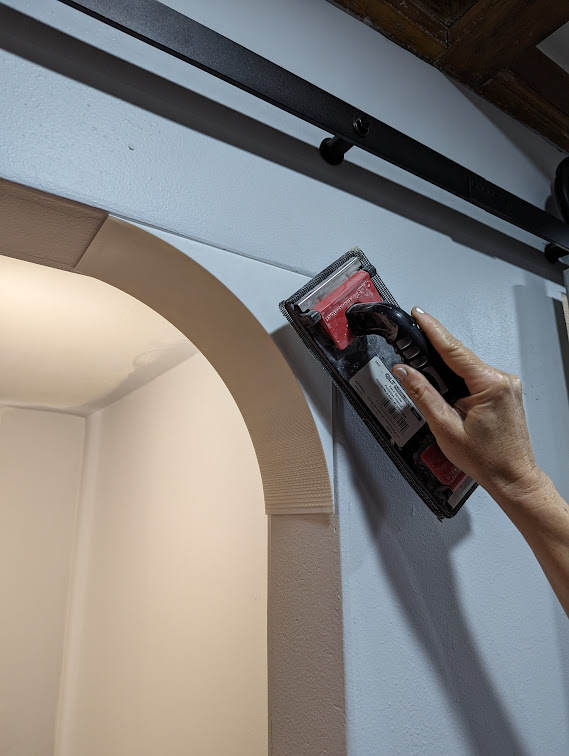
After the joint compound is completely dry, you will need to sand and reapply more joint compound to the areas that shrank or cracked.
Multiple coats with sanding may be needed to achieve a smooth seamless look.
Step 5:
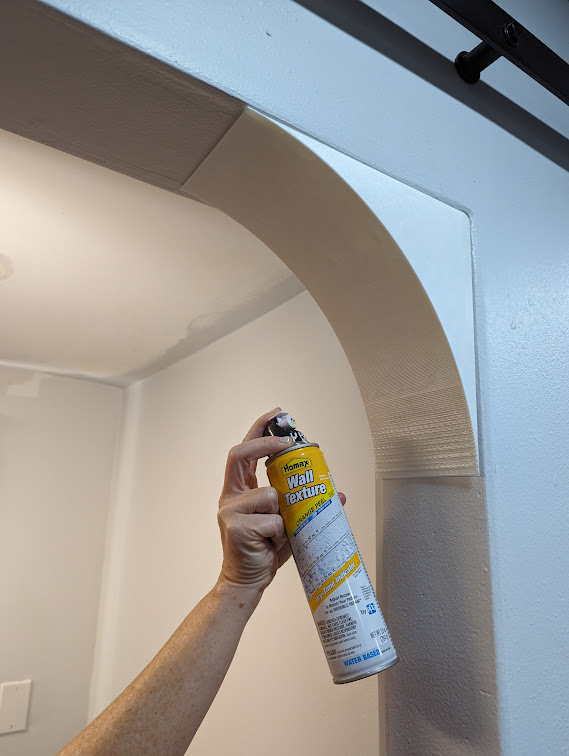
Once the joint compound is completely dry, and the arches appear to be perfectly blended into the walls seamlessly, you can apply wall texture to match the surrounding walls.
This part may not be needed if your walls have no texture.
Just spray it on the arches and all areas that appear to have no texture. Use caution to avoid the overspray getting onto surrounding areas.
Step 6:
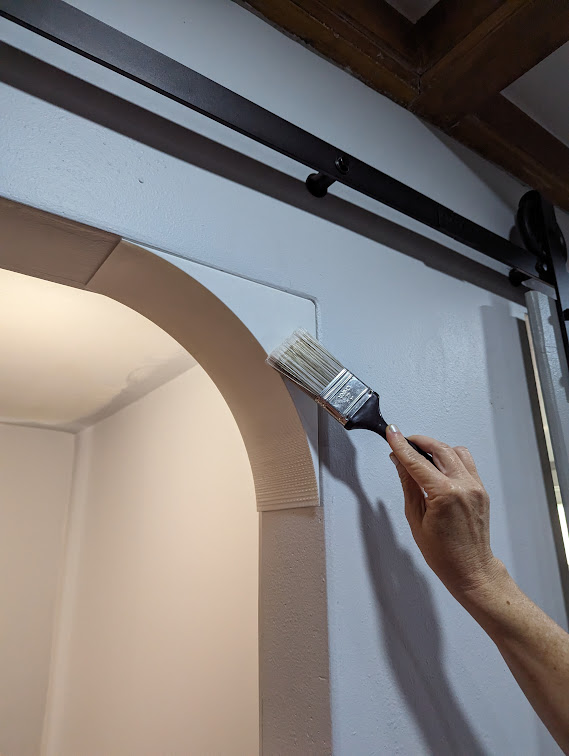
Once the texture is completely dry, you can now paint the areas.
It is best to use the exact same paint and color that the walls had been painted with originally. If you do not have the same paint, you may have to take a piece of the wall that has paint on it down to your local hardware store for them to color match.
Make sure they match not only the color, but the sheen. That being either flat, matte, gloss or semi-gloss.
Step 7:
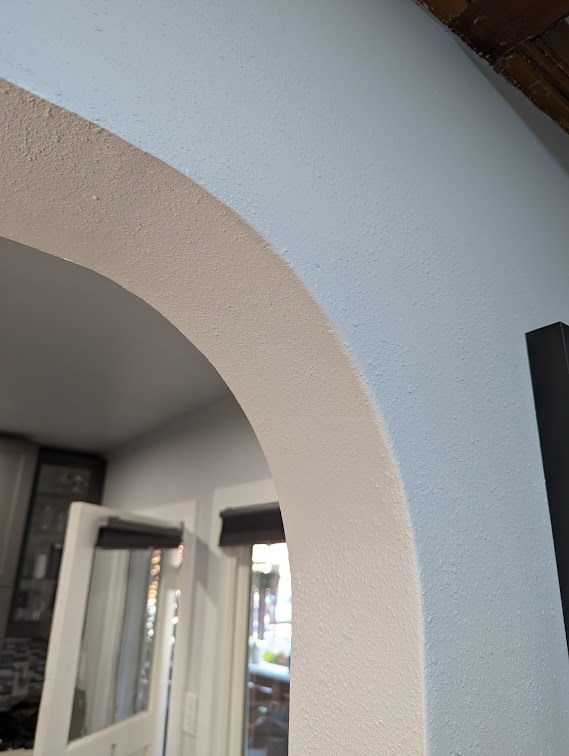
YOU’RE FINISHED!